Monday, 15 October 2018

Envelope card class

Envelope and card in one


here goes

from a 12 x 12 sheet of card stock(double sided saves you having to cover your plain card stock)
measure and score at-
10 cm    5 mm     10 cm    5 mm    5 cm( for the flap)
15 cm down
if you are adding a decorative edge,do so now


finished card base

for your window-
cut your remaining piece to-
20 cm x 15 cm
Score at 1 cm on both sides and fold backwards 

create a window within the middle ( I used a metal ruler to size mine)

cut out the center piece

attach double sided tape to your flaps

carefully line up your window to your base,making sure it is placed at your scoreline like the picture shows

attach the right sand side,again making sure it lines up to the edge of your card

erase all pencil lines

base .....complete


decorate at will

I layered some pieces for a dimensional look,also cutting some trees out of foam for a snowy look

envelope flip using a corner rounder punch


Same template,using double sided paper

finish with a Velcro closing, ribbon/or paper belly band


Sunday, 17 June 2018

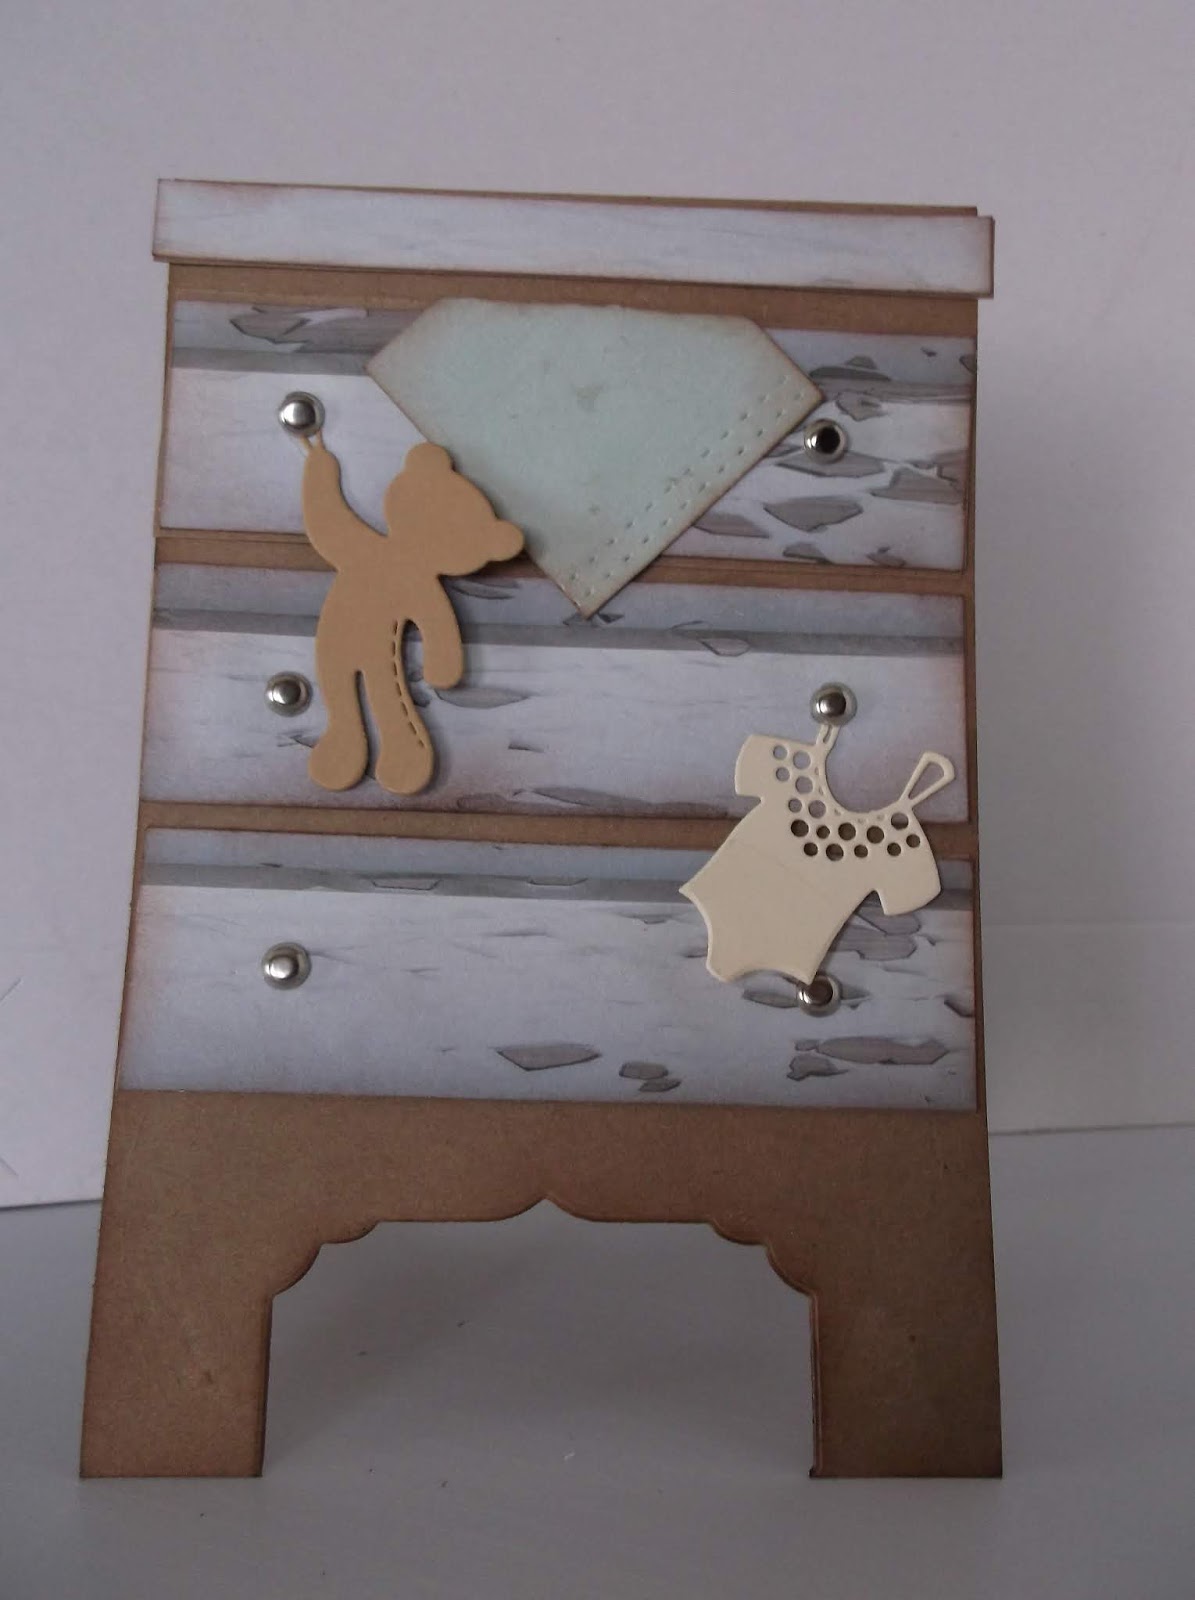
Baby Drawer card class


Simple "Baby drawer"card
I cut my card down to 10x30cm
3 cards from one 12x12 sheet of KRAFT cardstock.
Score in half
Mark the centre in pencil and align size 4 from "scrapbooking faerie scallop tag set" like so.
Secure with washi tape before die cutting.
Cut through both layers
Drawer size is 3cm wide(3 pieces)
top strip is 1 cm
I backed each draw on an extra piece of Kraft card stock for dimension and added a further layer to the top drawer( to make it look slightly opened)
I then hung a piece that looked like a blanket peeking out the draw

I used 6 small brads as drawer handles....attach your die cut before securing to the draws
baby themed die cut elements
Completed card with all edges chalked


EXAMPLES FROM OTHER ARTISTS- 


Saturday, 21 April 2018

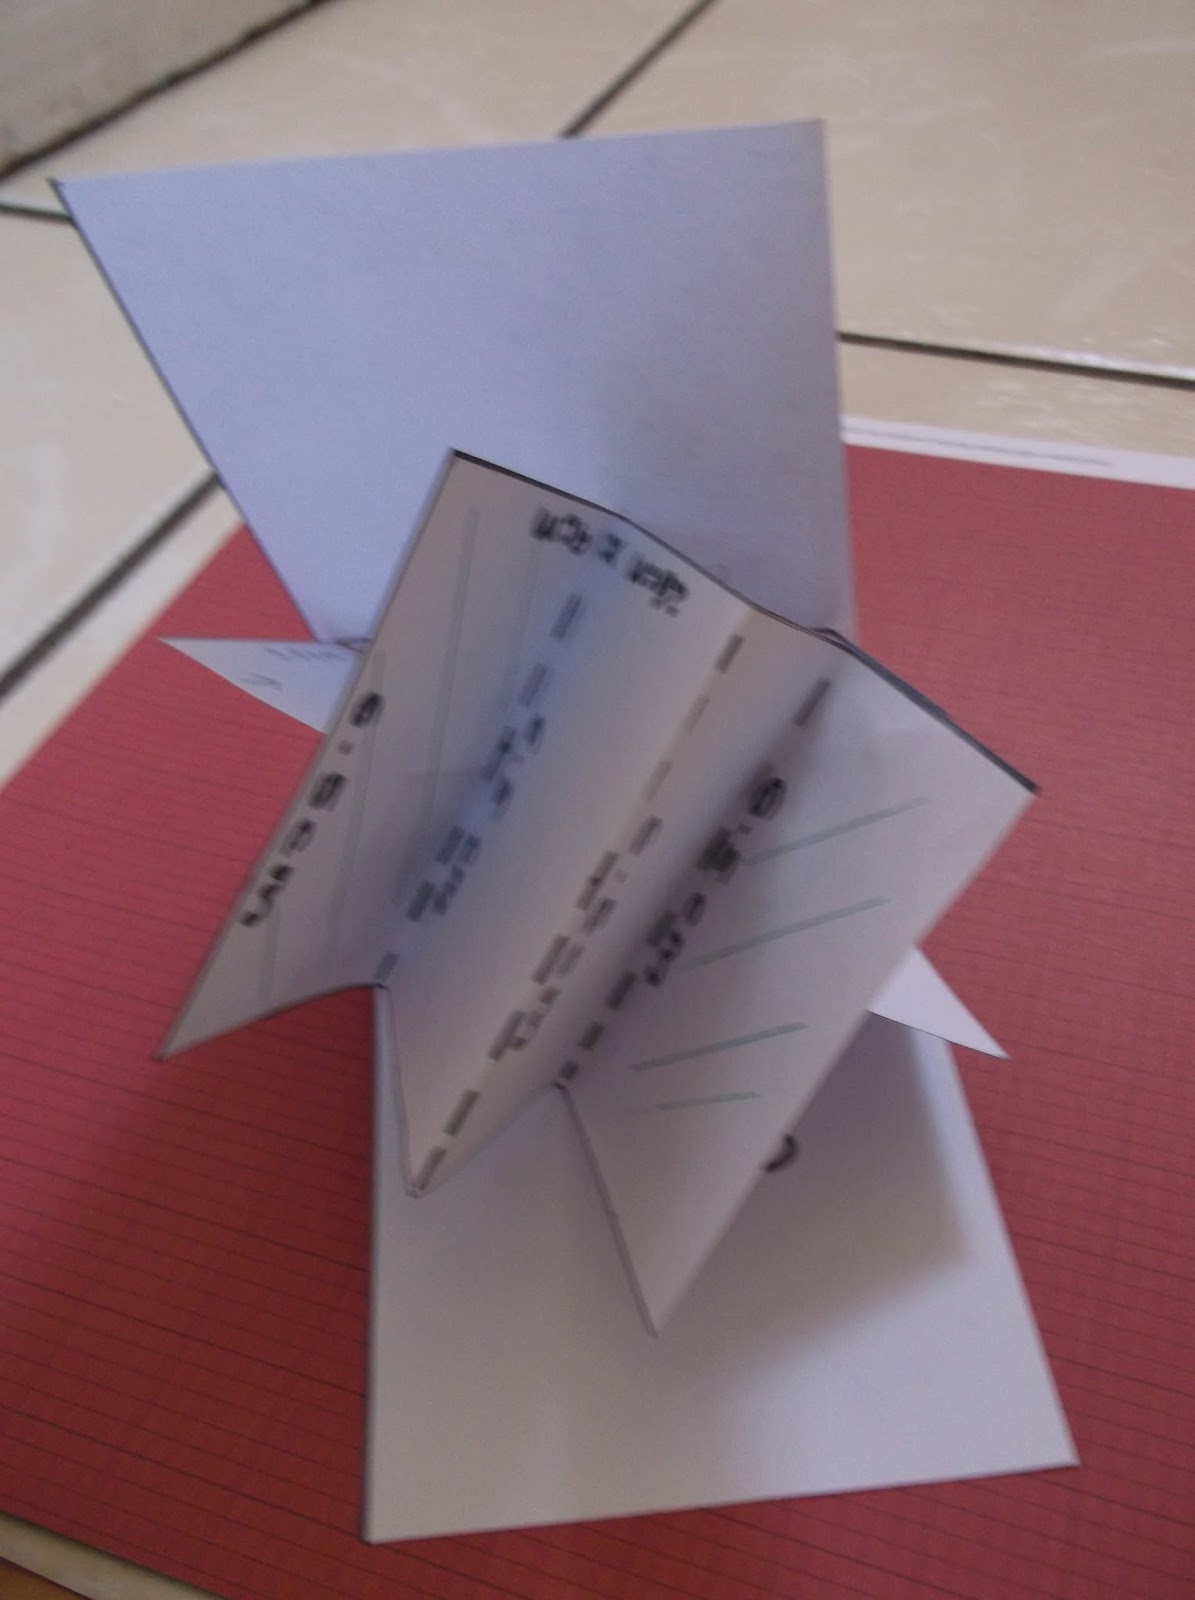
Twist and pop card class


Cut pattern.....you might find it easier to make a tester before you use your good paper as you have to get the mechanism just right

start with your mechanism

fold in half

score and fold right side

score and fold left side

push the sides in bring down to make shape in the bottom pic

score all lines with your bone folder


fold your card base and mark a line in the center of the card


align your mechanism on your mark.add glue, then bring the bottom half of your card up to close.

rotate and repeat with the other half


fold in half as shown

fold the right hand side towards the center

fold the left hand side toward the center

mark the center of your card

be very careful here to not go out of the area.......add glue to TOP RIGHT HAND BLOCK and BOTTOM LEFT BLOCK(indicated by the stripes.lay your top piece flat and attach.let it dry well before testing

Done!

closed

my 2 examples


email me at-
scrapbookingfaerie@gmail.com

 if you would like to purchase the "HAPPY FATHERS DAY"  or the "VASE AND FLOWER" dies used here